Summary:
Understanding AC Installation Requirements in South San Francisco
Installing air conditioning in South San Francisco isn’t just about picking a unit and plugging it in. The process requires careful planning, proper permits, and adherence to local building codes that protect both your safety and your investment.
Your home’s existing infrastructure plays a major role in determining your installation options. Older homes may need electrical upgrades to handle modern AC systems, while newer construction might already have the necessary wiring and ductwork in place. The key is getting a thorough assessment before making any commitments.
We evaluate your electrical panel capacity, existing ductwork condition, and structural requirements during the initial consultation. This upfront evaluation prevents costly surprises and ensures your new system operates safely and efficiently for years to come.
How to Choose the Right AC System Size for Your Home
Getting the right system size makes the difference between comfortable, efficient cooling and a unit that either struggles to keep up or cycles on and off constantly. Many homeowners assume bigger is better, but oversized systems actually create more problems than they solve.
An oversized AC system cools your space too quickly without removing humidity effectively. You end up with a cold, clammy environment that feels uncomfortable despite the lower temperature. These systems also waste energy and wear out faster because they’re constantly starting and stopping instead of running steady, efficient cycles.
Professional load calculations take the guesswork out of sizing. We measure your home’s square footage, ceiling height, insulation quality, window types, and sun exposure. We factor in South San Francisco’s specific climate patterns and your family’s cooling preferences. This scientific approach ensures your system matches your actual cooling needs rather than rough estimates.
The calculation process typically takes 30-60 minutes and involves measuring each room, checking insulation levels, and evaluating your home’s thermal envelope. Don’t work with contractors who size systems based on square footage alone or use outdated rules of thumb. Proper load calculations are industry standard and required for optimal system performance.
Most South San Francisco homes need systems ranging from 2 to 4 tons of cooling capacity. A 2-ton system handles approximately 1,200-1,500 square feet, while larger homes may require 3.5 or 4-ton units. Your specific needs depend on your home’s unique characteristics, not just its size.
Evaluating Your Home's Electrical and Ductwork Infrastructure
Your home’s electrical system and ductwork determine both your installation options and total project costs. Many South San Francisco homes built before the 1990s need upgrades to support modern air conditioning systems safely and effectively.
Electrical requirements vary by system type and size. Central air conditioning typically requires a dedicated 240-volt circuit with appropriate amperage for your unit. Older electrical panels may lack the capacity for additional high-draw appliances, requiring panel upgrades or electrical service increases. Mini-split systems often have lower electrical requirements but still need proper circuits and disconnect switches.
Ductwork evaluation reveals whether your existing system can handle conditioned air distribution. Undersized ducts restrict airflow and reduce system efficiency. Leaky ducts waste energy and create uneven cooling throughout your home. Poorly designed duct layouts can cause pressure imbalances that stress your equipment and reduce comfort.
Professional ductwork assessment includes measuring duct sizes, testing for leaks, and evaluating insulation levels. In South San Francisco’s moderate climate, properly sealed and insulated ducts can improve system efficiency by 15-20%. Some homes need minor duct modifications, while others benefit from complete duct replacement or redesign.
Don’t skip the infrastructure evaluation to save money upfront. Inadequate electrical or ductwork systems cause premature equipment failure, higher energy bills, and ongoing comfort problems. Address these issues during installation rather than dealing with expensive retrofits later.
The evaluation process also identifies opportunities for efficiency improvements. Adding duct insulation, sealing air leaks, or upgrading electrical components during AC installation often costs less than separate projects and maximizes your new system’s performance.
Want live answers?
Connect with a Sugar Bear Home Services expert for fast, friendly support.
The Complete AC Installation Process: What to Expect
Professional AC installation follows a systematic process designed to ensure proper system operation and long-term reliability. Understanding each step helps you prepare for the project and recognize quality workmanship when you see it.
The process typically spans 1-3 days depending on system complexity and any necessary infrastructure upgrades. Simple system replacements with existing ductwork and electrical connections usually complete in one day. New installations requiring ductwork or electrical modifications take longer but result in properly integrated systems.
We communicate clearly throughout the process, explaining what we’re doing and why. We protect your home with floor coverings, clean up work areas daily, and leave your property in better condition than we found it.
Day One: System Removal and Site Preparation
Installation begins with careful removal of existing equipment and preparation of installation areas. We protect your home’s interior with floor coverings and plastic sheeting before bringing tools and materials inside.
Old system removal involves more than just disconnecting and hauling away equipment. Refrigerant must be properly recovered according to EPA regulations. Electrical connections require safe disconnection and evaluation for reuse or replacement. Ductwork connections need assessment for compatibility with new equipment.
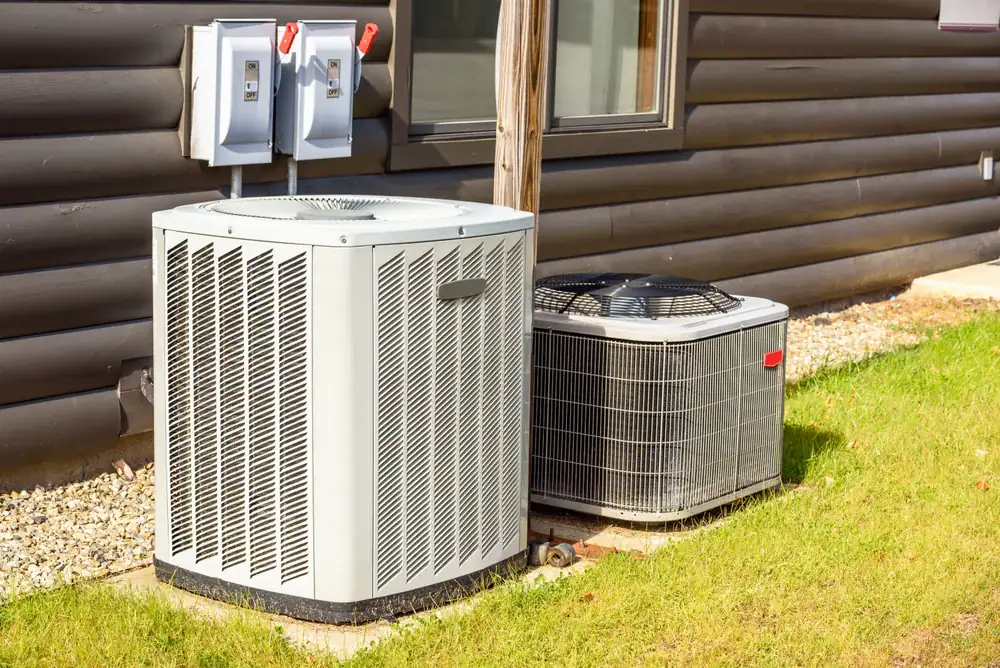
Site preparation includes verifying equipment placement locations and ensuring adequate clearances for operation and maintenance. Outdoor units need level, stable platforms with proper drainage and airflow clearances. Indoor components require access for service and filter changes while maintaining adequate ventilation around equipment.
The removal process also reveals hidden issues that weren’t apparent during initial evaluation. Corroded refrigerant lines, damaged ductwork, or electrical problems discovered during removal can affect project timeline and costs. We identify these issues quickly and present solutions that keep your project moving forward.
Proper site preparation prevents installation problems and ensures code compliance. We verify that equipment locations meet manufacturer requirements and local building codes. We check clearances to combustible materials, ensure proper drainage, and confirm adequate electrical access.
We take photos of existing installations before removal, documenting any unusual conditions or modifications. This documentation helps with troubleshooting and provides reference information for future service needs.
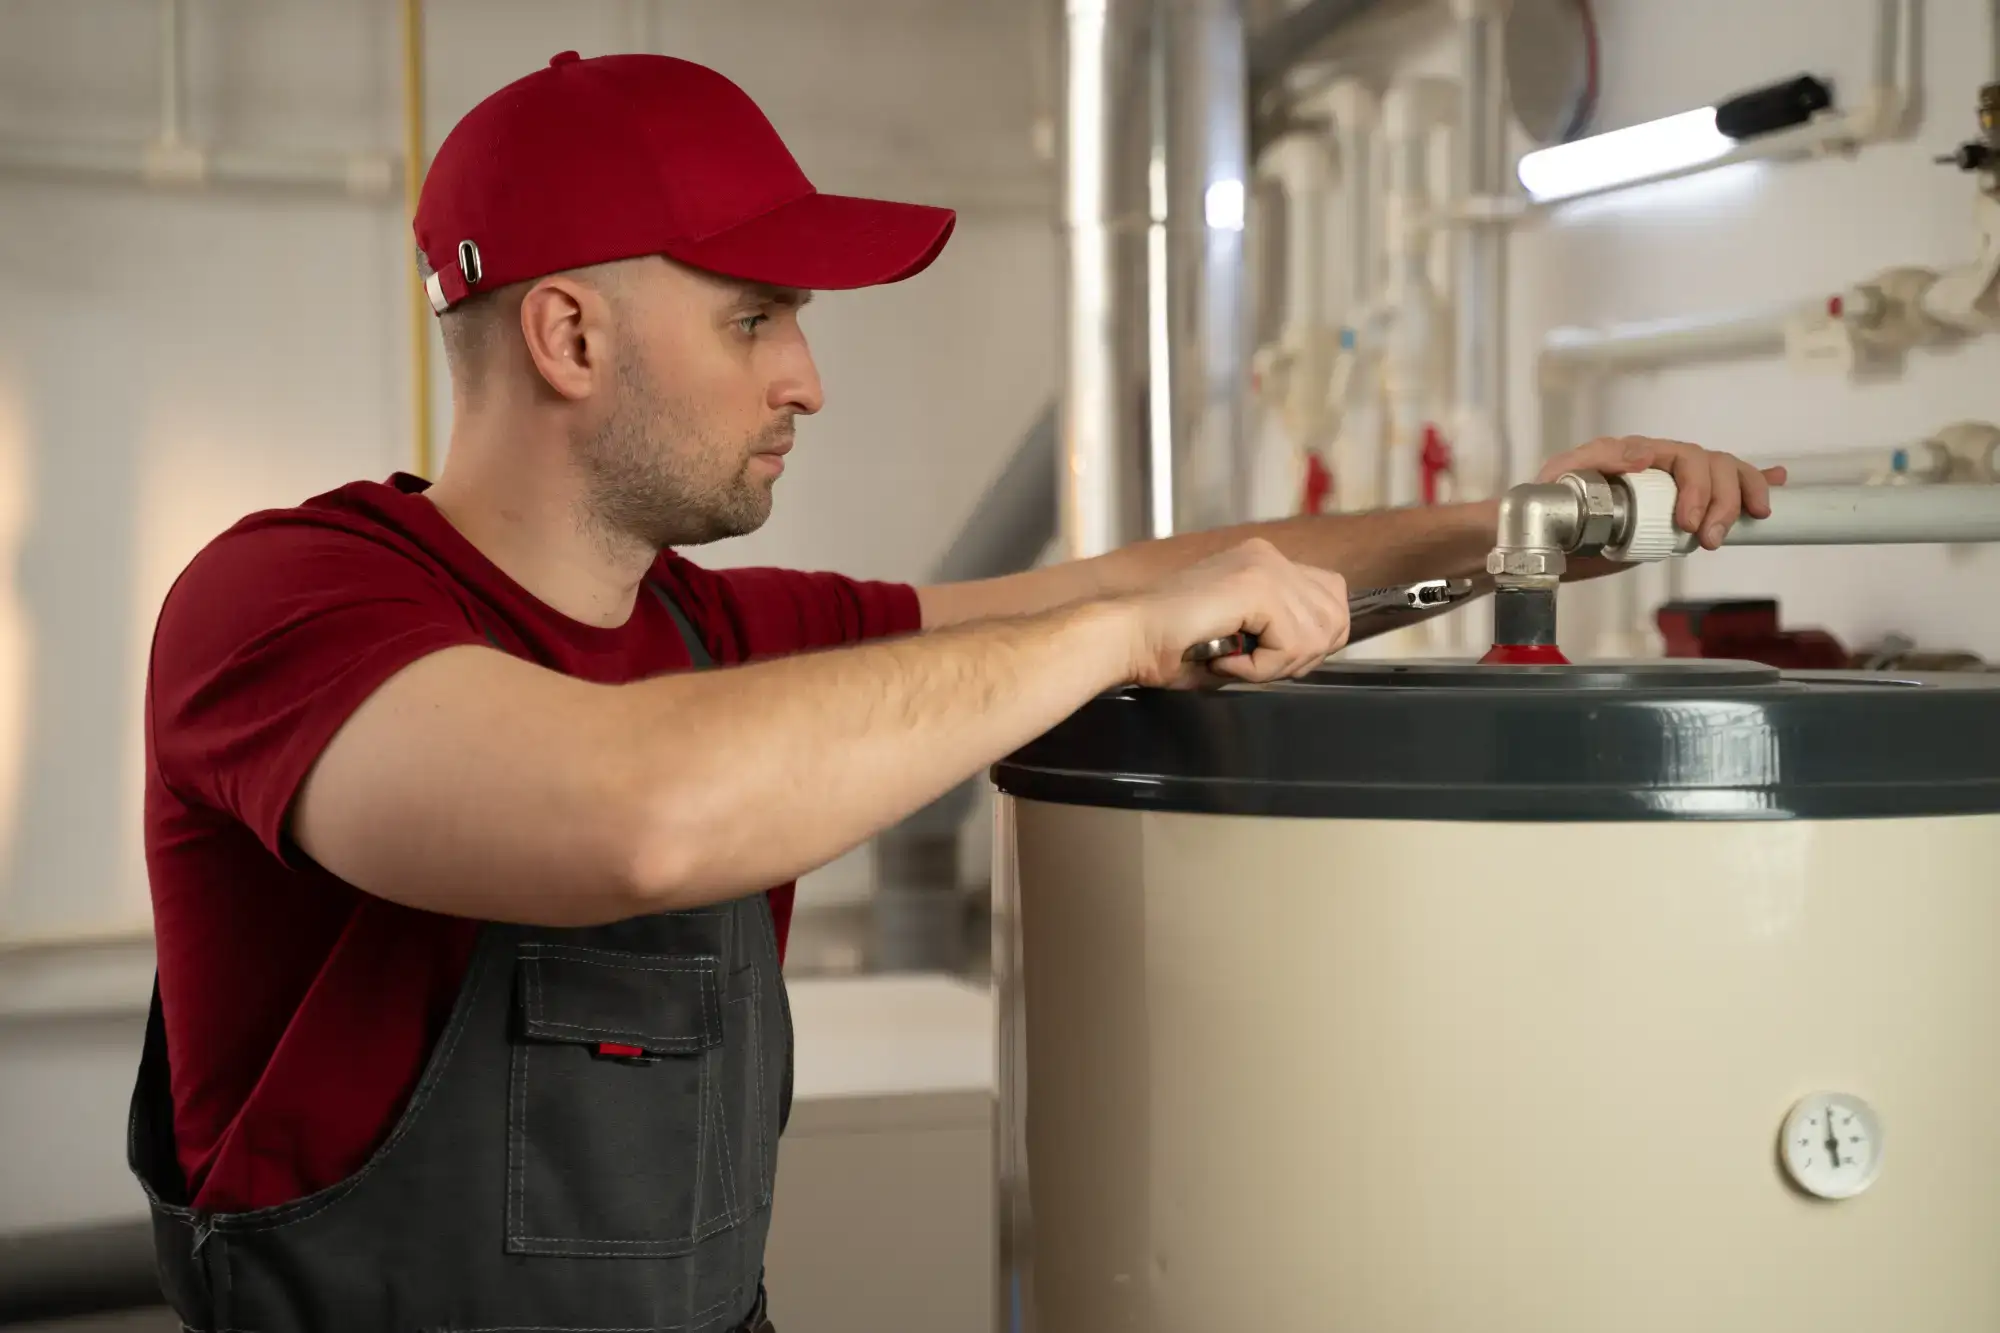
Installation Day: Equipment Setup and System Commissioning
Equipment installation requires precision and attention to detail that separates professional contractors from inexperienced installers. Every connection, measurement, and adjustment affects your system’s performance and longevity.
Refrigerant line installation demands careful attention to cleanliness and proper techniques. Contaminated lines cause system failures and expensive repairs. We use nitrogen purging, proper brazing techniques, and leak testing to ensure reliable connections that last decades.
Electrical connections follow manufacturer specifications and local codes. Proper wire sizing, disconnect switches, and grounding protect your equipment and family safety. We verify voltage and amperage at the equipment to ensure adequate power supply under load conditions.
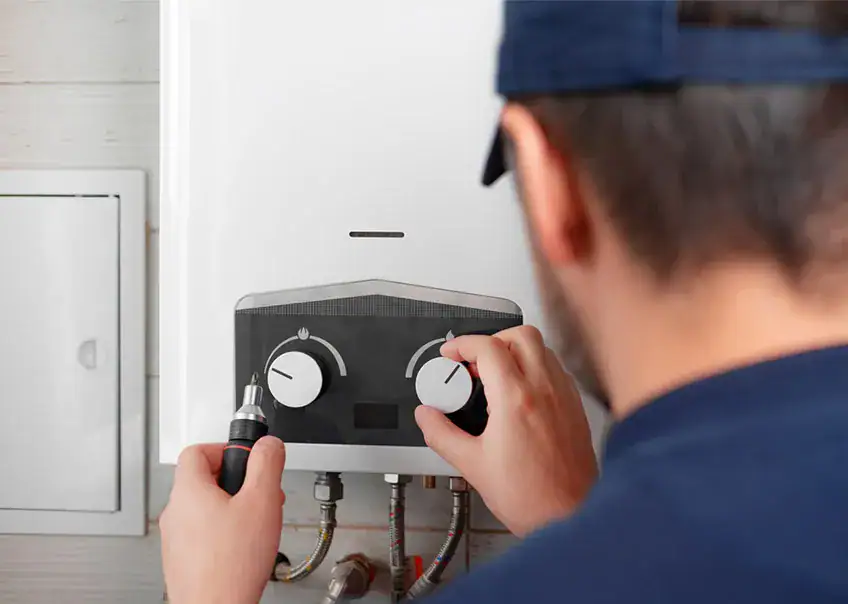
System commissioning involves much more than just turning on the equipment and checking for cold air. Professional commissioning includes refrigerant charge verification, airflow measurement, temperature differential testing, and control system programming. These steps ensure your system operates at peak efficiency from day one.
The commissioning process typically takes 2-4 hours and involves specialized testing equipment. We measure refrigerant pressures, superheat and subcooling temperatures, and electrical draws to verify proper system operation. We test all system functions including heating modes on heat pump systems.
Final system testing includes verifying thermostat operation, checking safety controls, and ensuring proper system cycling. We demonstrate system operation and provide basic maintenance instructions. We review warranty information and schedule follow-up service if needed.
Quality installations include detailed documentation of system specifications, test results, and any modifications made during installation. This paperwork becomes valuable reference information for future service and warranty claims.
Making Your AC Installation Investment Count
AC installation represents a significant investment in your home’s comfort and value. The difference between a successful project and ongoing problems often comes down to choosing experienced contractors who understand both the technical requirements and local conditions that affect system performance.
Professional installation ensures your system operates efficiently, lasts longer, and provides consistent comfort throughout your home. Proper sizing, quality installation practices, and thorough commissioning prevent the common problems that plague poorly installed systems.
When you’re ready to move forward with your AC installation project, Sugar Bear Home Services brings the expertise and professionalism that South San Francisco homeowners trust. Our systematic approach ensures your installation meets the highest standards while respecting your home and schedule.